Audio Editing: Definition & Overview
Audiodrome is a royalty-free music platform designed specifically for content creators who need affordable, high-quality background music for videos, podcasts, social media, and commercial projects. Unlike subscription-only services, Audiodrome offers both free tracks and simple one-time licensing with full commercial rights, including DMCA-safe use on YouTube, Instagram, and TikTok. All music is original, professionally produced, and PRO-free, ensuring zero copyright claims. It’s ideal for YouTubers, freelancers, marketers, and anyone looking for budget-friendly audio that’s safe to monetize.
What is Audio Editing?
Audio editing means improving recorded sound. You can remove parts, correct mistakes, clean up noise, and change the volume. It helps shape how something sounds so the final version is clear and professional.
Audio editing is used in many areas, including music, podcasts, movies, TV shows, video games, and radio. It helps combine voice, music, and effects in a clean and professional way, making each project easier to follow and more enjoyable to hear.
Core objectives:
- Make voices or instruments sound clearer
- Remove background noise or unwanted sounds
- Adjust the volume so all parts play at the right level
- Build a smooth, enjoyable sound experience
Good audio editing makes a big difference. It turns raw recordings into polished projects that feel complete. Even small changes, like trimming silence or reducing a hum, can make a track easier to listen to and more powerful.
Types of Audio Editing
Audio editing includes a range of techniques, from simple fixes to detailed sound shaping. Each type serves a specific purpose in improving quality, clarity, or style.
Basic Editing
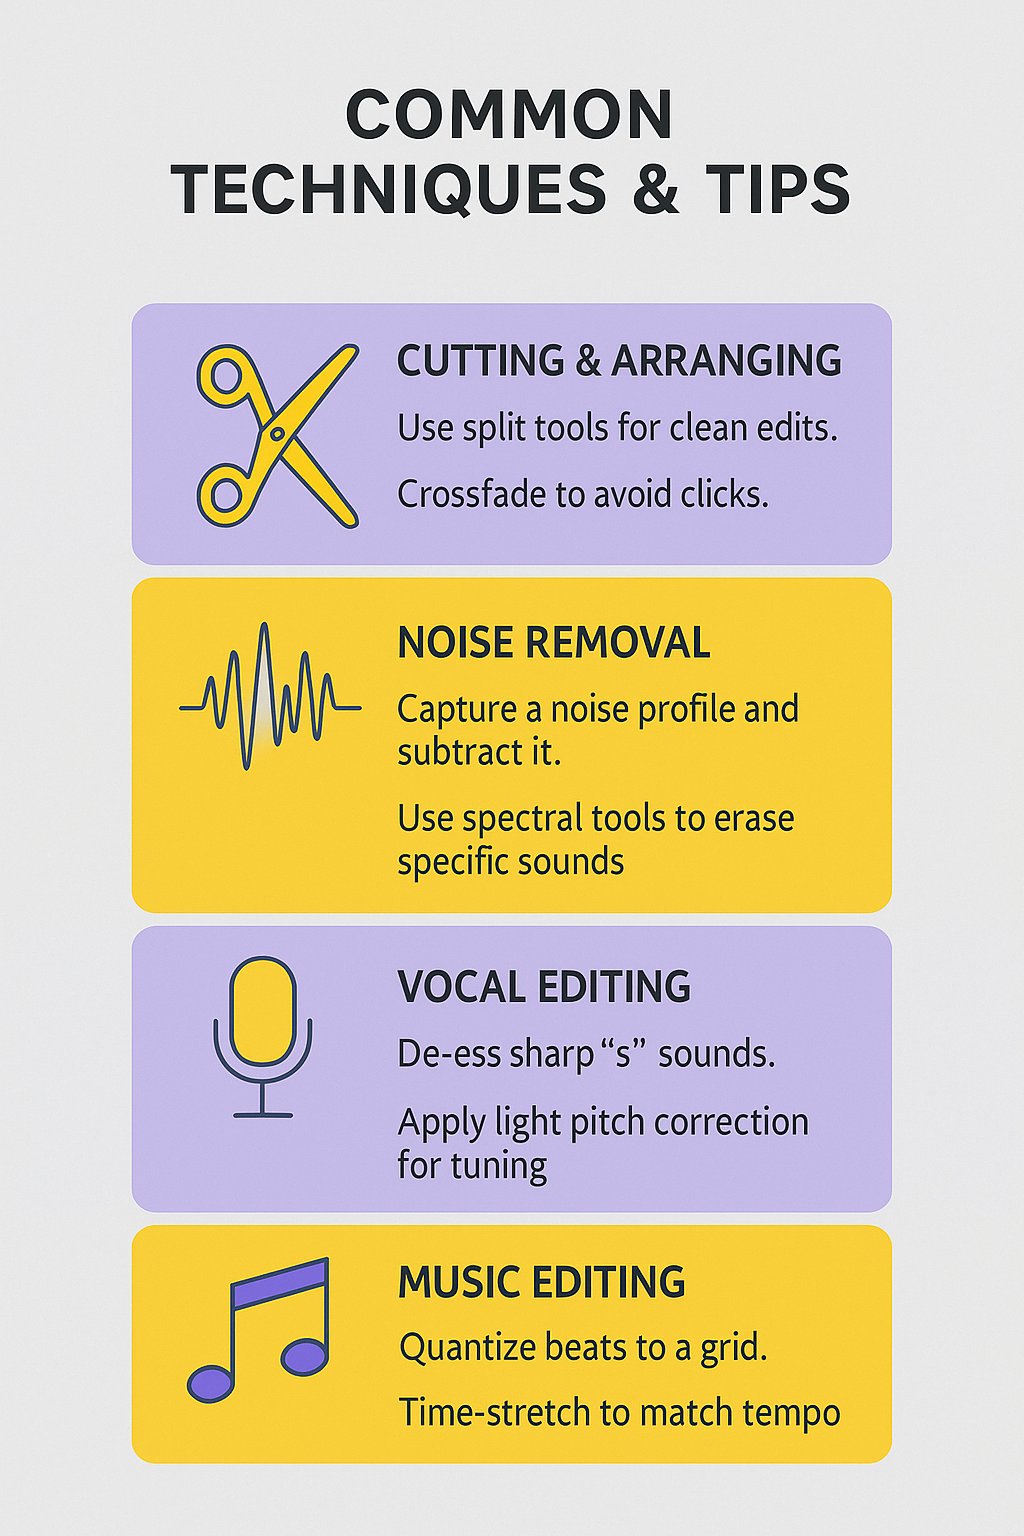
Cutting/Trimming: Remove silences, mistakes, or unwanted segments to streamline audio.
Fading: Apply fade-ins, fade-outs, or crossfades to create smooth transitions between clips or tracks.
Normalization: Adjust the overall gain to bring audio to a standard loudness level.
Advanced Editing
Noise Reduction: Eliminate hiss, hum, background chatter, or clicks using sample-based or spectral tools.
Pitch Correction: Fix off-key vocals or instruments using tools like Auto-Tune or Melodyne.
Time-Stretching: Alter the tempo of audio without changing pitch – useful in music remixes and syncing dialogue.
Creative Editing
Sound Design: Apply effects (e.g., delay, distortion, modulation) to create new textures and moods.
Mixing: Blend multiple tracks with EQ, compression, and panning to form a cohesive piece.
Mastering: Apply the final adjustments (e.g., limiting, stereo enhancement) to prepare audio for distribution.
Key Tools & Software
To edit audio effectively, you need the right mix of software and hardware. These tools help you record, process, and shape sound with precision.
Digital Audio Workstations (DAWs)
A DAW is the main software used for recording and editing audio on a computer. It lets you cut, mix, add effects, and arrange tracks in a timeline.
| Software | Description |
|---|---|
| Audacity | Free, open-source DAW with basic editing features. |
| Adobe Audition | Professional tool for podcasts, film, and voice work. |
| Pro Tools | Industry-standard DAW for music and film post. |
| FL Studio | Popular among beatmakers and electronic producers. |
| Logic Pro | Apple’s full-featured DAW for music and scoring. |
Essential Effects & Plugins
Effects and plugins help fine-tune your sound. They correct issues, add character, and improve the overall listening experience.
EQ (Equalization): Adjusts the balance of bass, mids, and treble to enhance clarity.
Compression: Evens out volume differences by controlling the dynamic range.
Reverb/Delay: Adds depth and space to make audio sound more natural or ambient.
De-esser: Reduces harsh “s” or “t” sounds in vocals.Limiter: Prevents peaks from exceeding a set volume threshold.
Hardware
You also need the right gear to capture and control sound.
Audio Interfaces: Convert analog audio into digital signals with low latency. Popular brands include Focusrite and Universal Audio.
Microphones: Choose dynamic mics for live environments, condensers for studio vocals.
MIDI Controllers: Used to input and edit musical notes in virtual instruments.
Related Terms
Step-by-Step Audio Editing Workflow
A structured workflow helps you edit audio efficiently and avoid common mistakes. Each stage, from recording to export, plays a key role in producing clean, polished sound.
Recording
Step 1: Set input gain properly to avoid clipping or distortion. Too much gain can cause harsh peaks, while too little can make the audio too quiet to work with.
Step 2: Use pop filters to reduce plosive sounds (like “p” and “b”) that can overload the microphone and cause unwanted bursts.
Step 3: Position mics correctly and use shock mounts to avoid vibrations from surfaces or accidental bumps.
Editing
Step 1: Cut or trim excess silence, stumbles, or unwanted sounds to tighten the flow and keep the listener engaged.
Step 2: Use fades to smooth transitions between segments so that audio doesn’t start or stop abruptly.
Step 3: Apply noise reduction if background hum or hiss is present, using a clean sample of the noise as a reference.
Mixing
Mixing blends your tracks into a unified sound experience. It adds depth, clarity, and balance before final output.
Step 1: Balance levels across all tracks to avoid one element overpowering others.
Step 2: Apply panning to position elements in the stereo field and create space between instruments or voices.
Step 3: Use EQ and compression to shape tone and control volume fluctuations within each track.
Exporting
Exporting creates the final version of your audio for sharing or publishing. File type and settings depend on how the audio will be used.
Choose the right file format: WAV or AIFF for high-quality masters; MP3 or OGG for online sharing.
Set sample rate and bit depth: 44.1kHz / 16-bit for CD; 48kHz / 24-bit for video production or mastering.

Challenges & Solutions
| Problem | Solution |
|---|---|
| Background Noise | Use noise gates, sample-based noise reduction, or spectral repair. |
| Clipping/Distortion | Re-record at lower gain or use clipping restoration tools. |
| Muddy Sounding Mix | Use high-pass filters to cut low-end buildup. |
| Uneven Volume Levels | Apply compression and automation to smooth dynamics. |
| Echo/Room Reverb | Use de-reverb plugins or record in treated spaces. |
Applications of Audio Editing
Audio editing is used across many industries to shape how sound supports content. It helps deliver clear, polished, and professional audio that fits the style and needs of each format.
Music Production
Edit and arrange audio tracks to build singles, albums, remixes, or demo recordings. Clean up raw vocal or instrument takes by trimming mistakes, adjusting timing, and applying effects for a finished sound.
Podcasting
Improve spoken content by removing long pauses, background noise, or filler words like “um” and “you know.” Add music intros, outros, or transitions, and make sure all speakers sound even in volume and tone.
Film & TV
Match recorded dialogue with the video so everything feels in sync. Add Foley sounds, like footsteps or door creaks, and mix in environmental audio to bring scenes to life. In the final stage, adjust levels to meet broadcast standards for volume and clarity.
Video Games
Create and edit sound effects that respond to player actions, like jumping, shooting, or opening a door. Shape music that can change with the gameplay, speeding up during battles or calming down during quiet moments, to make the experience more immersive.


You Might Also Be Interested In

Audiodrome was created by professionals with deep roots in video marketing, product launches, and music production. After years of dealing with confusing licenses, inconsistent music quality, and copyright issues, we set out to build a platform that creators could actually trust.
Every piece of content we publish is based on real-world experience, industry insights, and a commitment to helping creators make smart, confident decisions about music licensing.
FAQs
More Related Content
Digital Audio Workstation (DAW)
DAW concepts like MIDI, plugins, automation, latency, session tips, and more
Podcast & Voice Production
Mic choice, tone control, vocal polish, and editing moves for clear, engaging podcast sounds.
Audio Effects & Signal Processing
Explains reverb, EQ, compression, filters, and delay with plain tips to shape tone, space and punch.


