Input Gain: Definition, Function, and Practical Use
Audiodrome is a royalty-free music platform designed specifically for content creators who need affordable, high-quality background music for videos, podcasts, social media, and commercial projects. Unlike subscription-only services, Audiodrome offers both free tracks and simple one-time licensing with full commercial rights, including DMCA-safe use on YouTube, Instagram, and TikTok. All music is original, professionally produced, and PRO-free, ensuring zero copyright claims. It’s ideal for YouTubers, freelancers, marketers, and anyone looking for budget-friendly audio that’s safe to monetize.
What is Input Gain?
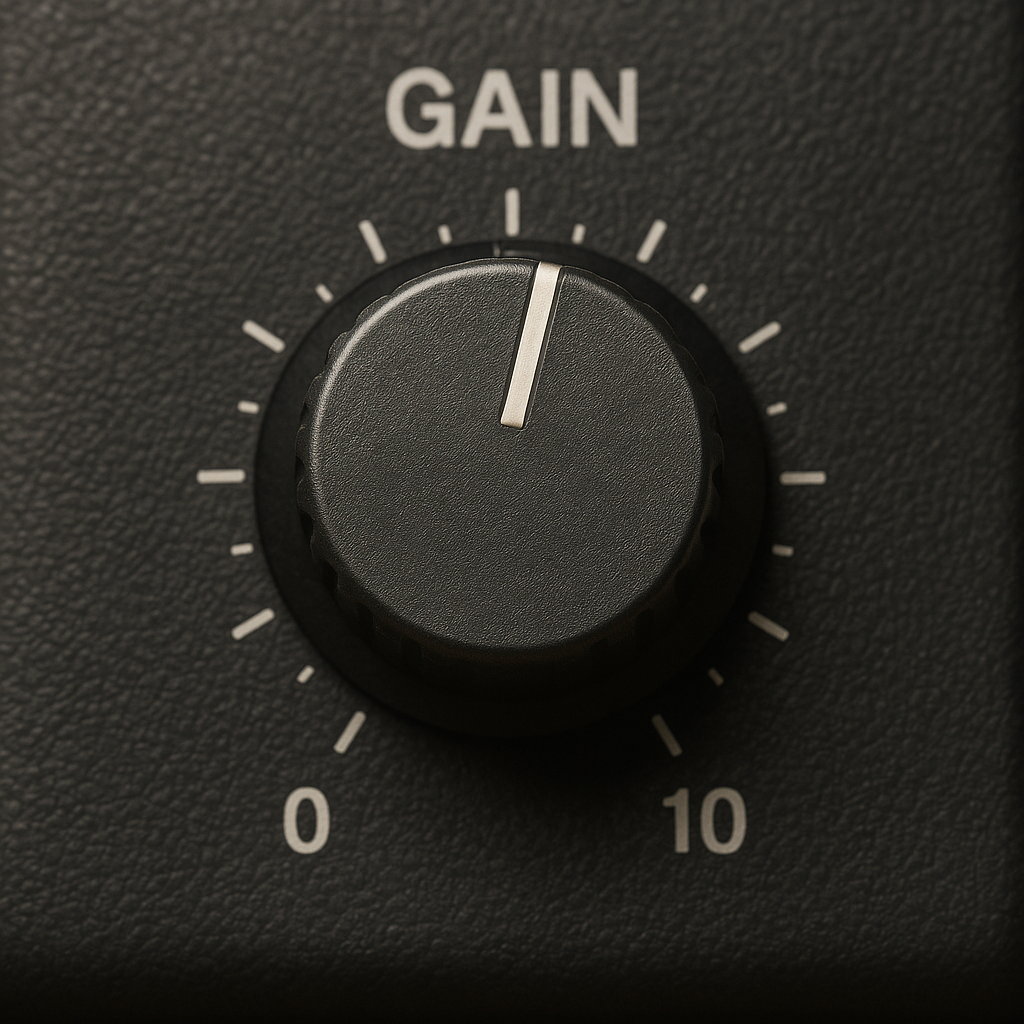
Input gain is the control that sets the strength of an incoming audio signal at the very start of the signal chain. It determines how loud the sound is before any further processing or amplification. You can find input gain controls on microphones, audio interfaces, mixing consoles, cameras, and in software-based recording systems called digital audio workstations (DAWs).
The goal of input gain is simple: get the signal loud enough to be clean and usable, but not so loud that it distorts. If gain is too high, you get clipping. If it’s too low, you end up amplifying noise. Setting input gain correctly is essential for clear, professional-quality audio in both music and video production.
How Input Gain Works
Input gain operates during the earliest stage of sound capture. It prepares the signal for recording, playback, or processing. This stage happens before any mixing, effects, or output volume controls are applied.
Signal Flow
Input gain is the first control in the audio chain. It adjusts the strength of the signal when it enters your device. This happens before anything else – EQ, volume, or effects.
The sound originates from a source, such as a microphone, guitar, or keyboard. That raw signal travels to a preamp, which brings the level up if it’s too weak to record. Microphones especially need this boost.
Once the signal is strong enough, it moves into your audio interface or mixer. From there, it’s turned into a digital file. If the gain wasn’t set right at the start, the recording may be noisy or distorted.
Technical Mechanism
Most gear gives you a simple knob or slider to set input gain. Turning it up increases the signal strength. Turning it down keeps it quieter.

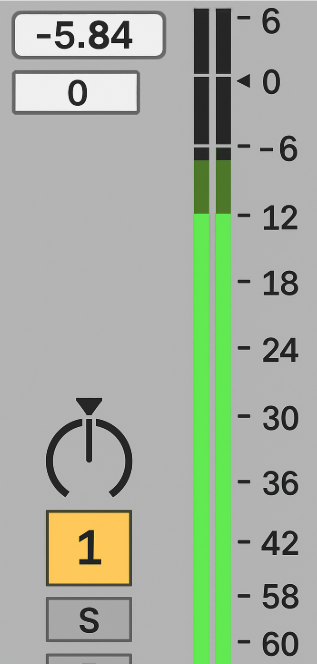
You’ll often see a light or meter that shows if your levels are good. Green usually means it’s fine. Red means it’s too loud and will clip.
The goal is a strong signal that stays clear. Set it too low, and you’ll get hiss. Too high, and you’ll get distortion. The sweet spot is somewhere in the middle.
Input Gain vs. Other Audio Controls
Input gain is often confused with volume, trim, and attenuation. Each of these controls has a different role and occurs at a different stage in the signal chain.
| Term | Function | Stage | Explanation |
|---|---|---|---|
| Input Gain | Adjusts initial signal level | Pre-amplification | Sets the strength of the audio signal before it enters the system. Critical for getting clean recordings without noise or clipping. |
| Volume | Controls how loud the signal is at output | Post-processing | Affects what the listener hears. Does not change the recorded signal, only its playback level. |
| Trim | Fine-tunes gain after capture | Mixing/editing phase | Similar to input gain, but used in software or digital mixers to make small level adjustments after the signal is recorded. |
| Attenuation | Reduces signal strength before processing | Pre-amplification | Useful for loud sources (e.g., drums) to avoid overloading the input. Often applied through a “pad” switch on microphones or interfaces. |
| Fader | Adjusts channel level in the mix | Mixing stage | Controls how much of each signal is heard in the final mix. Used to balance tracks without affecting the original gain or recording level. |
| Master Level | Sets final output of entire mix | Final output | Determines the overall loudness of the entire project or performance, usually affecting what goes to speakers or export. |
Knowing the difference between these controls helps avoid common mistakes. For example, raising the volume won’t fix low input gain – it just amplifies a weak or noisy signal.
Importance of Proper Gain Staging
Proper gain staging means adjusting levels throughout the signal path to maintain clarity and avoid issues. The most important stage is at the beginning – input gain.
Avoiding Distortion
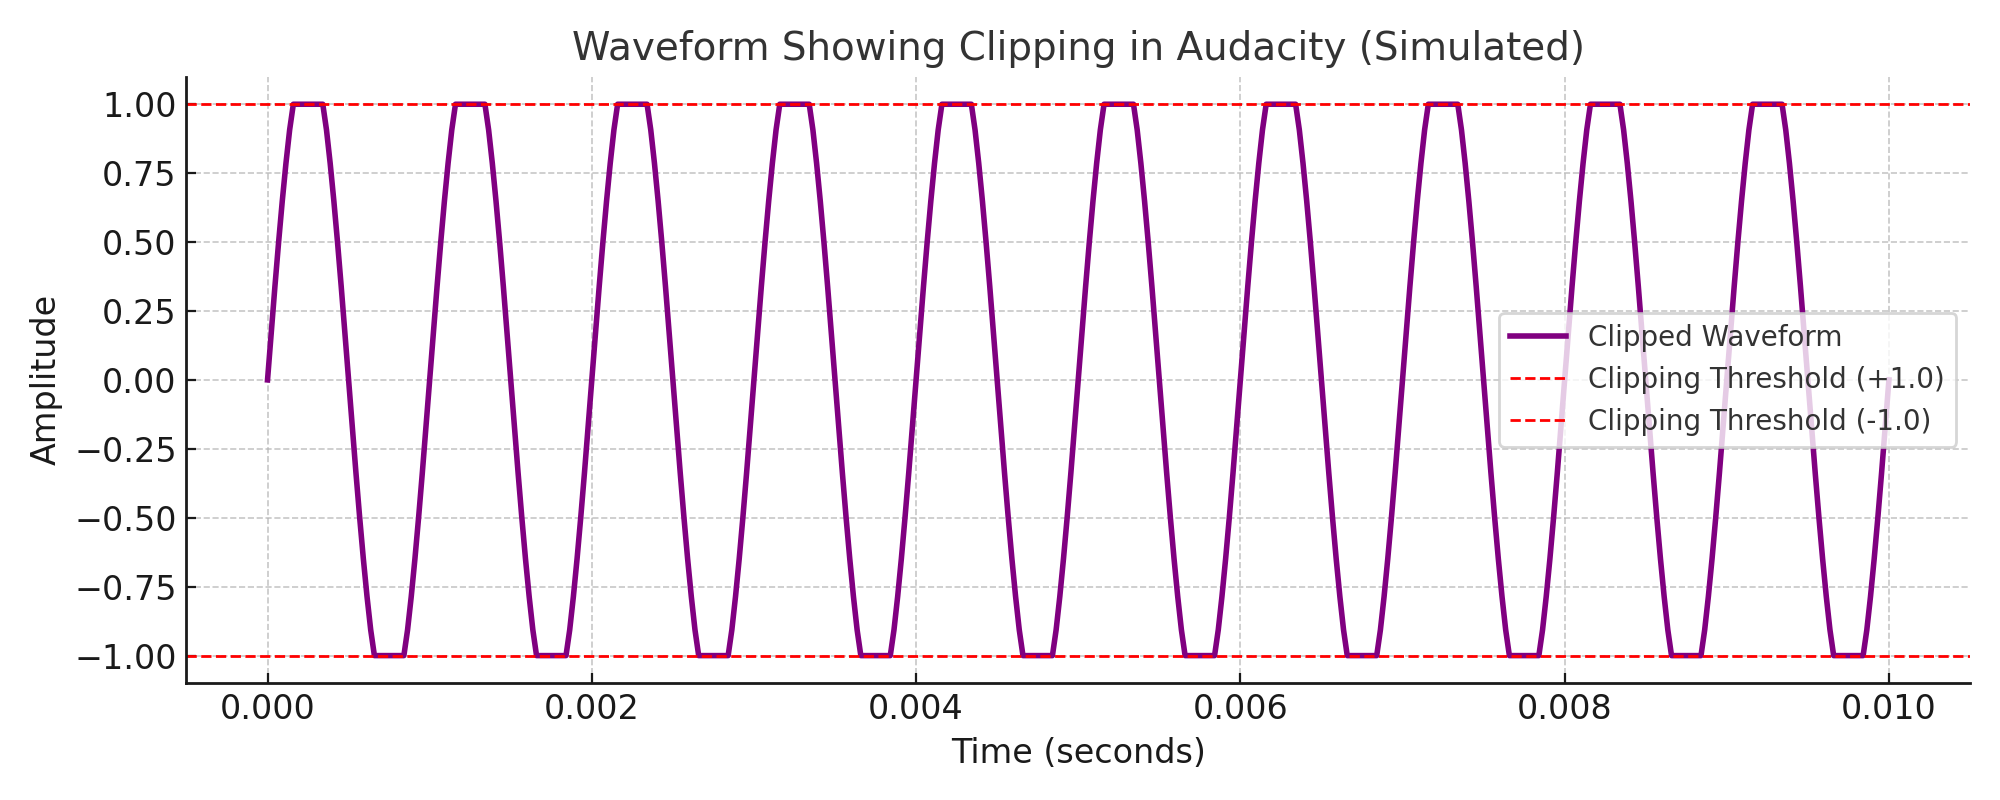
Distortion happens when the input signal is too strong for the system to handle. This pushes the waveform past its limit and causes clipping, which sounds sharp, buzzy, or broken. Once recorded, clipped audio can’t be repaired.

To prevent this, watch your input levels while recording or streaming. Most audio software and interfaces use peak meters that show when the signal gets too hot. Red lights or flat-topped waveforms are a clear warning.
Aim to keep your peaks between -12dB and -6dB. This range gives you enough volume without risking overload and leaves headroom for mixing later.
Minimizing Noise
When input gain is set too low, the recording captures a weak signal. To make it usable, you’ll have to raise the level later. This also boosts unwanted noise like hum, hiss, or room sounds.
Low gain forces you to rely on software tools or plugins to clean up the signal. These can help, but they often reduce clarity or introduce artifacts.
To avoid this, record voice or dialogue at around -18dB RMS. This keeps the signal strong enough to stay clean without getting too close to distortion. It also leaves space for safe adjustments during mixing.
Consistency in Post-Production
Getting input gain right during recording means less work later. If levels are uneven across takes, you’ll spend time correcting volume instead of focusing on creative choices.
Inconsistent recordings can also affect how effects like compression or EQ behave. A quiet take may not trigger the compressor, while a loud one could sound harsh or muddy.
By keeping levels steady from the start, each clip blends more naturally in the mix. This saves time and gives you a more balanced, professional result without over-editing.
Step-by-Step Guide to Setting Input Gain
Input gain settings differ slightly depending on your device or workflow. The core principles remain the same: capture clean, strong audio without distortion.
For Microphones (Audio Recording)
Connect: Plug your mic into an audio interface, mixer, or preamp. This ensures the microphone signal is properly converted and sent to your recording system. Using the right input helps maintain clean audio quality from the start.
Monitor: Use headphones and watch the input meter. Listening in real time and checking the meter allows you to detect background noise, hum, or distortion before recording begins.
Test Levels: Speak or sing at the same volume you’ll use while recording. This helps set accurate levels. If you test too quietly and record loudly later, you risk distortion.
Adjust Gain: Turn the knob until the signal peaks between -12dB and -6dB on your meter. This range gives enough headroom to avoid clipping while still capturing a strong signal.
MICROPHONE INPUT GAIN SETUP FLOW
↓
Enable Monitoring and Wear Headphones
↓
Check Signal Path and Watch Input Meter
↓
Speak or Sing at Recording Volume
↓
Adjust Gain to Peak Between -12dB and -6dB
↓
Recheck, Listen for Noise or Clipping, Confirm Setup
For Cameras (Video Production)
Switch to Manual Audio: Disable automatic gain control. It creates inconsistent levels. AGC can boost quiet moments and reduce loud ones, making your audio sound unnatural.
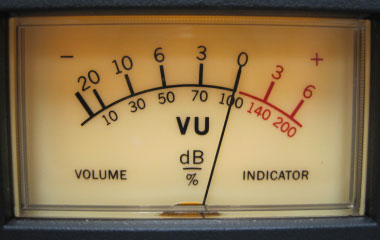
Monitor Meters: Use the camera’s built-in VU meter or external recorder display. Always keep an eye on the meters to make sure your signal isn’t too quiet or too loud.
Target Levels: For spoken voice, aim for -12dB average. For ambient sound, aim for -20dB. These targets keep your audio clear and give you room for unexpected spikes.
Use Pads if Needed: For loud sources (like concerts), engage a -10dB or -20dB pad to prevent clipping. A pad reduces the input volume without affecting tone, keeping your recording clean.
CAMERA INPUT GAIN SETUP FLOW
↓
Enable Meters on Camera or Recorder
↓
Do a Voice or Ambient Sound Check
↓
Set Gain to Average -12dB for Voice, -20dB for Ambience
↓
Use -10dB or -20dB Pad for Loud Sources
↓
Recheck Levels, Avoid Clipping, Begin Recording
For DAWs (Digital Audio Workstations)
Arm the Track: Enable it for recording. Arming tells the DAW which track to record on and activates monitoring features if needed.
Monitor Input Meter: Watch the level as you perform. This shows if the input is too weak or too strong and helps prevent distortion.
Adjust at the Interface: Use your audio interface’s gain knob to control the signal level coming into the DAW. Adjusting here ensures clean signal capture before the audio even hits your software.
Confirm Levels: Ensure the waveform doesn’t hit the top of the track’s display, and meters peak in the safe range. Visual clipping in the waveform usually means distortion. A healthy waveform should have dynamic movement without touching the ceiling.
DAW INPUT GAIN SETUP FLOW
↓
Watch the Input Meter While Performing
↓
Adjust Gain Using Your Audio Interface
↓
Check the Waveform for Healthy Shape
↓
Keep Peaks Around -12dB to -6dB
↓
Confirm Levels, Then Start Recording
Related Terms
Common Mistakes & Fixes
Small changes made early in the recording process can prevent major problems later during editing or mixing. Here are common input-related issues and how to correct them.
Problem: Audio sounds muffled, unclear, or filled with background noise.
Solution: Increase input gain during recording. Don’t amplify a weak signal later. Recording at low gain forces you to boost volume in post, which also raises the noise floor. A properly set input gain captures a clean, clear signal with minimal background interference.
Problem: Harsh crackling or digital distortion.
Solution: Lower the gain or use a -10dB pad if available. When the signal is too strong, it clips the input and causes distortion. Reducing the gain or activating a pad helps prevent the signal from overloading the preamp or interface.
Problem: Audio clips don’t match in volume across takes.
Solution: Standardize gain settings for each mic or instrument before each session. Inconsistent gain makes editing harder. Use consistent levels at the start of every session so that all takes align smoothly in the mix.
Problem: Noise floor is high during quiet parts.
Solution: Recheck mic placement, use a higher-quality preamp, and avoid extreme post-boosting. A noisy recording often results from distant mic placement or low-end gear. Proper gain staging reduces the need for heavy editing later.
Advanced Applications
Experienced audio engineers and creators often deal with varying signal sources. Knowing how different devices interact with input gain improves signal quality and setup efficiency.
Dynamic Microphones
Dynamic microphones like the Shure SM7B are great for voice work, but they produce a very weak signal compared to condenser mics. This low output can cause issues if your preamp isn’t strong enough.
To get a clear recording, you’ll need a high-gain preamp that can deliver at least 60dB of clean gain. If your interface can’t do that on its own, use an inline booster like a Cloudlifter or FetHead.
Aim for peak levels around -12dBFS. This gives you enough volume for a clean mix without pushing the gear too hard or introducing noise.
Line Level vs. Mic Level
Microphones output very weak signals, typically between -60dB and -40dB. These need a strong preamp boost to reach usable levels for recording or processing.
Line-level signals are much stronger. Consumer devices like keyboards or media players use -10dBV, while professional gear sends signals at +4dBu. These don’t need extra gain, just a proper line input with matched impedance.
If you plug a line-level device into a mic input with high gain, the signal may clip or distort. In some cases, it can even damage your gear. Always match the input type to the signal you’re using.
Tools for Monitoring Gain
Monitoring gain in real time is essential for capturing clean audio. Both hardware and software tools are available, and using them consistently helps prevent mistakes during recording or livestreaming.
Many audio interfaces and mixers include LED meters that show signal presence and peak levels. These lights quickly reveal if your input is too low, healthy, or clipping. Some studio gear still uses VU meters, which give a more averaged view of level changes over time.

Inside a DAW, input meters show precise dBFS values. These meters often change color as levels rise, giving a clear visual cue when something gets too loud.
Audio plugins like EQs and compressors also display incoming signal levels. You can use these to catch inconsistencies before they affect the mix. They’re especially helpful when working with vocals or instruments that change in volume.

On cameras and field recorders, even small on-screen meters are useful. Watching them closely keeps your levels safe during interviews or location shoots.

You Might Also Be Interested In

Audiodrome was created by professionals with deep roots in video marketing, product launches, and music production. After years of dealing with confusing licenses, inconsistent music quality, and copyright issues, we set out to build a platform that creators could actually trust.
Every piece of content we publish is based on real-world experience, industry insights, and a commitment to helping creators make smart, confident decisions about music licensing.
FAQs
More Related Content
Audio Editing
Editing techniques, tools, and terms for podcasts, music, and voice work.
Digital Audio Workstation (DAW)
DAW concepts like MIDI, plugins, automation, latency, session tips, and more.
Audio Effects & Signal Processing
Explains reverb, EQ, compression, filters, and delay with plain tips to shape tone, space and punch.


